手把手教你本地 AI 图生图
作者: | 更新日期:
相比文生图,图生图的应用更广一些。
本文首发于公众号:天空的代码世界,微信号:tiankonguse
零、背景
之前在《3个免费AI 生成图片的方法》分享了在线生成图片的网站。
后来在《comfyui 本地无限制高清文生图》分享了本地部署了文生图软件,可以无限制生成任何想要的图片。
再后来,在《ComfyUI 学习 AI 生图原理,10秒一张》分享了文生图的基本原理,以及介绍了 comfyUI 工作流的含义。
接下来就是学习 图生图、老图片修复、图片部分擦除、图片部分替换、图片扩充等等技术了。
一、模型
下载模型 v1-5-pruned-emaonly-fp16.safetensors 放到 ComfyUI/models/checkpoints 目录。
下载地址:https://huggingface.co/Comfy-Org/stable-diffusion-v1-5-archive/blob/main/v1-5-pruned-emaonly-fp16.safetensors
目录结构大概如下,下载完成后,建议重启下 comfyUI。
ComfyUI/
├── models/
│   ├── checkpoints/
│   │   └── v1-5-pruned-emaonly-fp16.safetensors
二、工作流
工作流我已经上传到网盘了,公众号回复“工作流-图生图”获取图生图工作流下载地址。
下载后,点击顶部菜单的 workflow 下的 Open,快捷键是 ctrl+o,选择下载的工作流 json 文件。
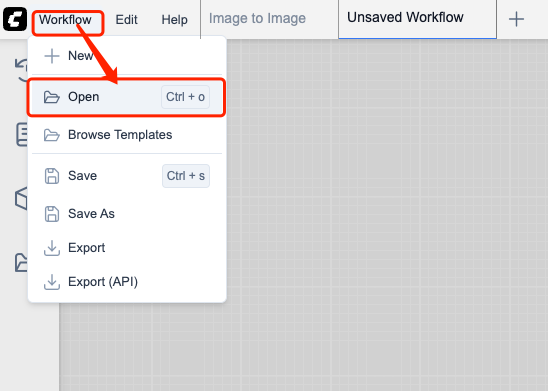
加载工作流后,可以看到如下图所示的工作流。
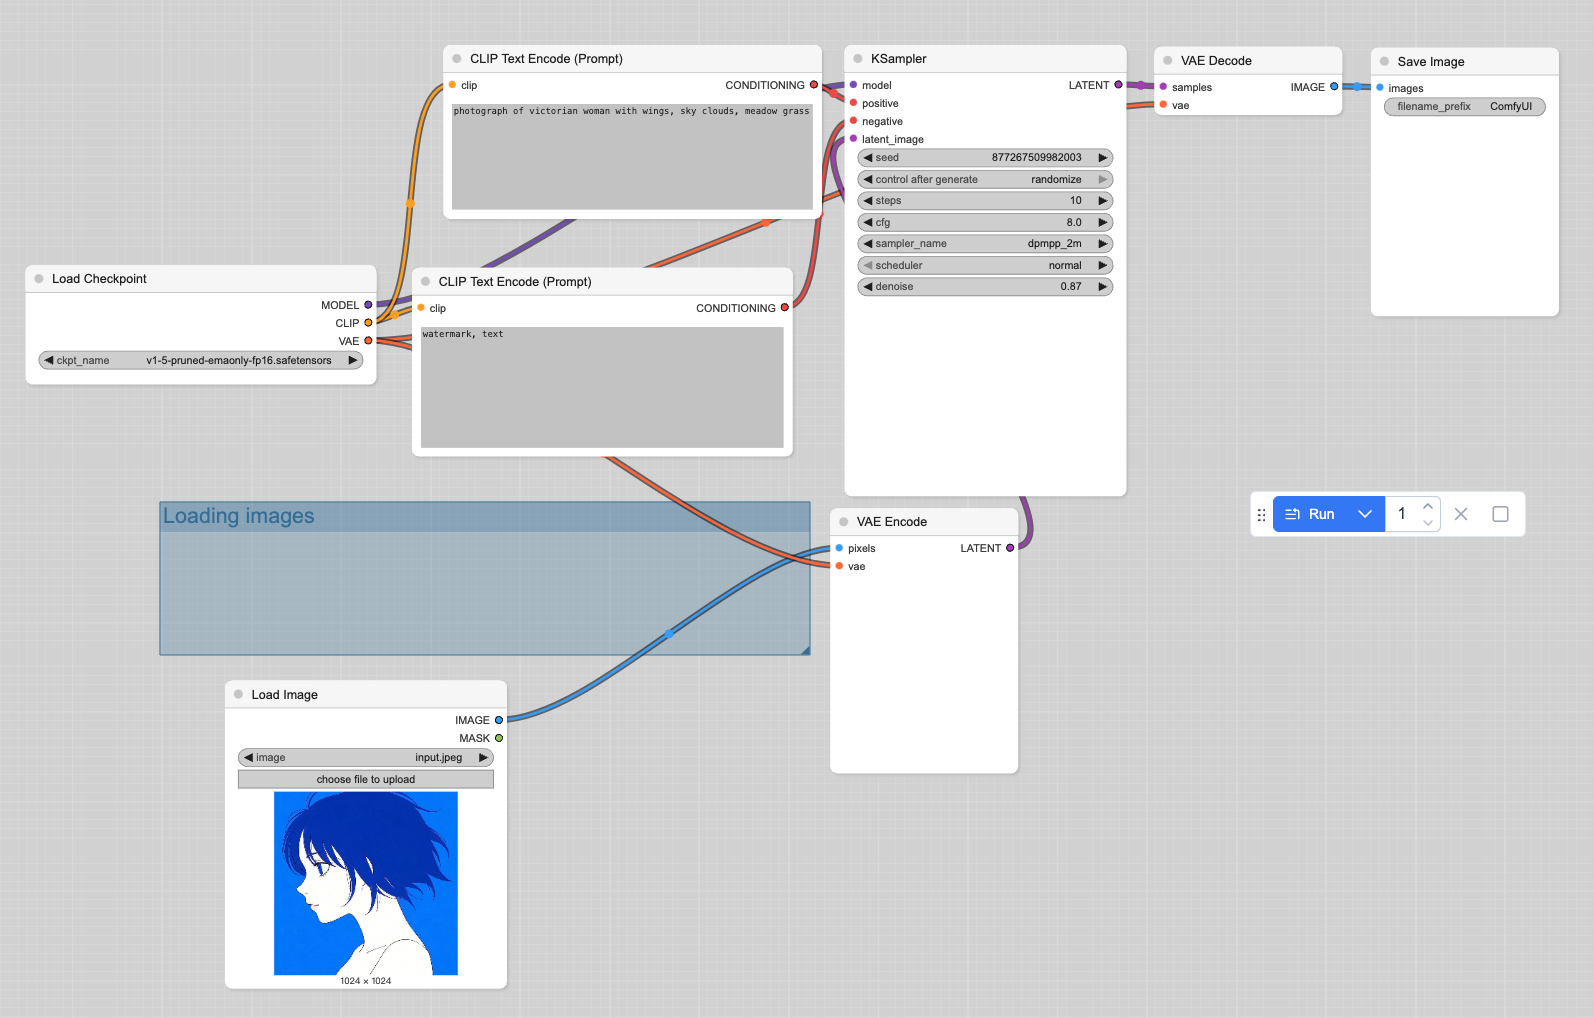
注:如果 Load Checkpoint 里的 ckpt_name 不是 v1-5-pruned-emaonly-fp16.safetensors,可以双击下拉切换为这个。
三、图生图
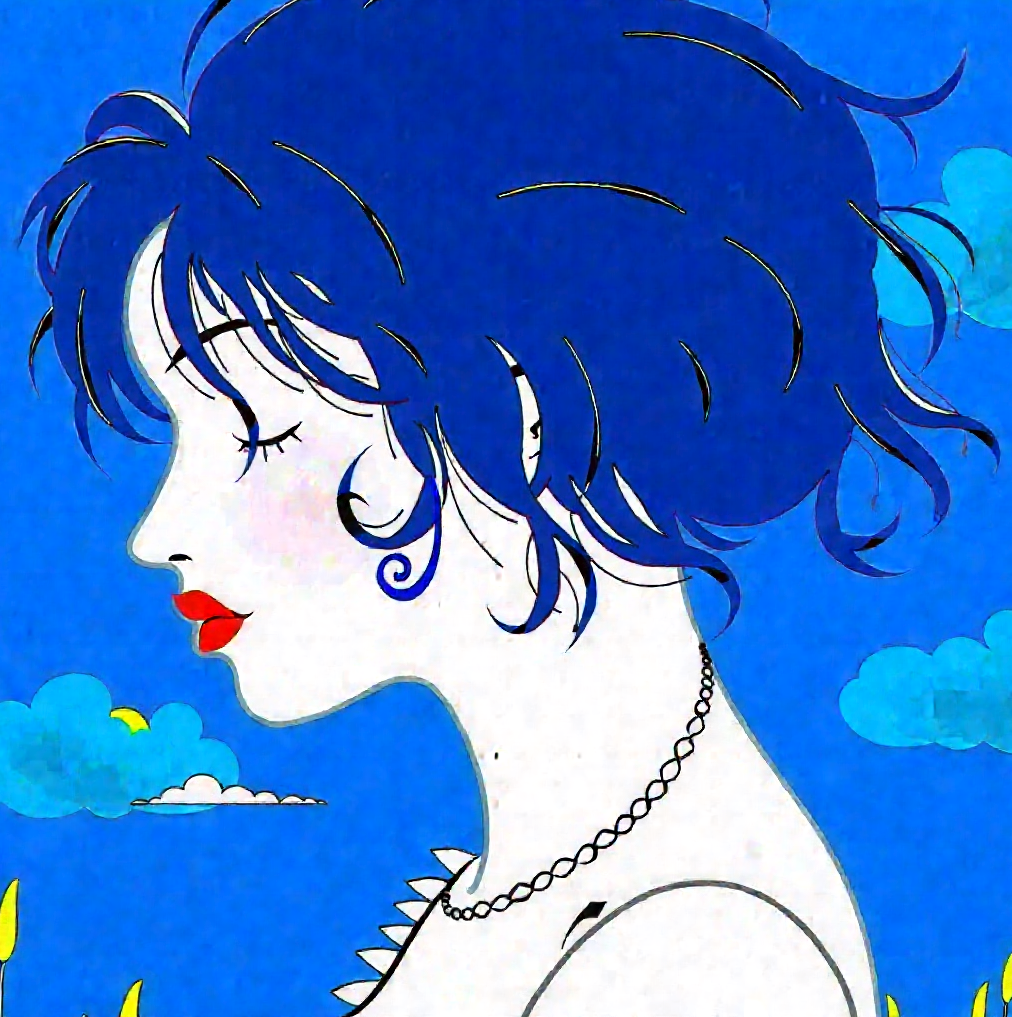
大家上传一个图片,建议分辨率是 1024x1024,输入 prompt,点击 Run 按钮,即可生成图片。
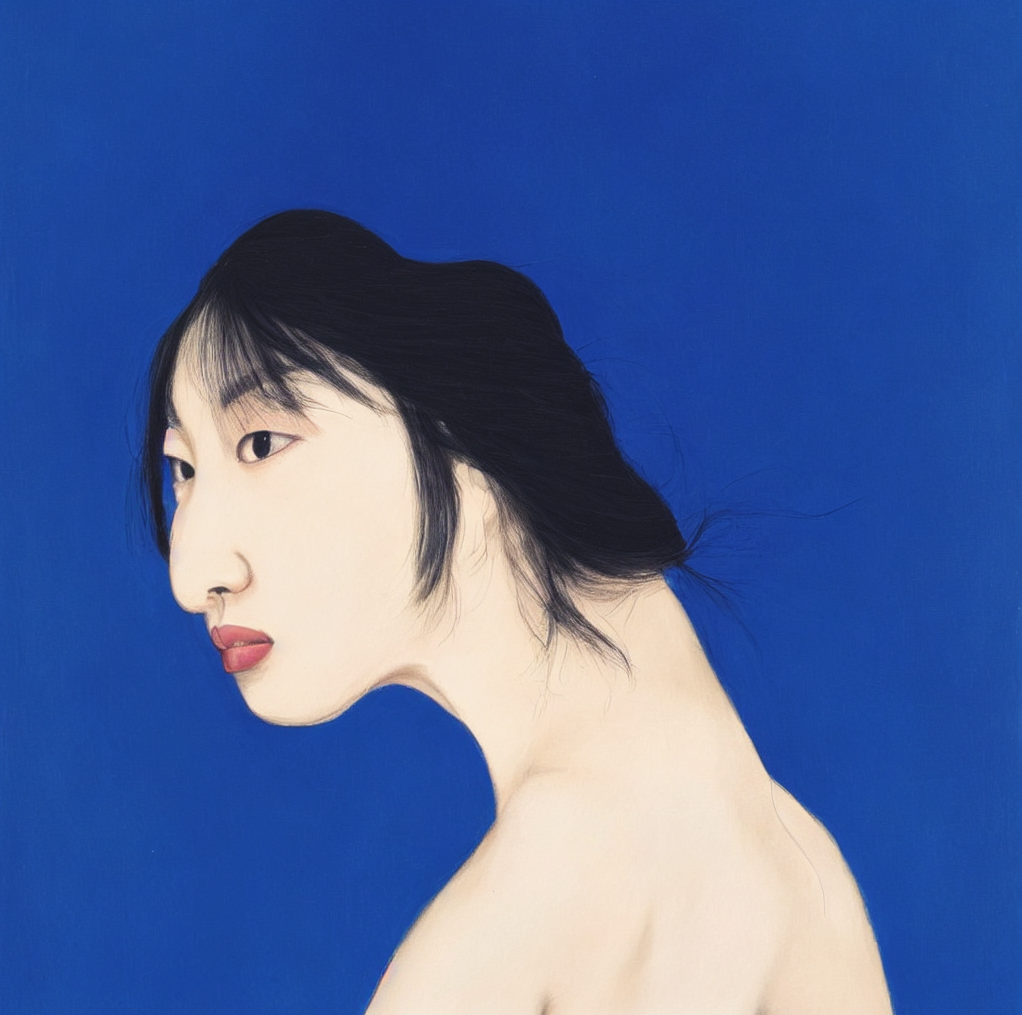
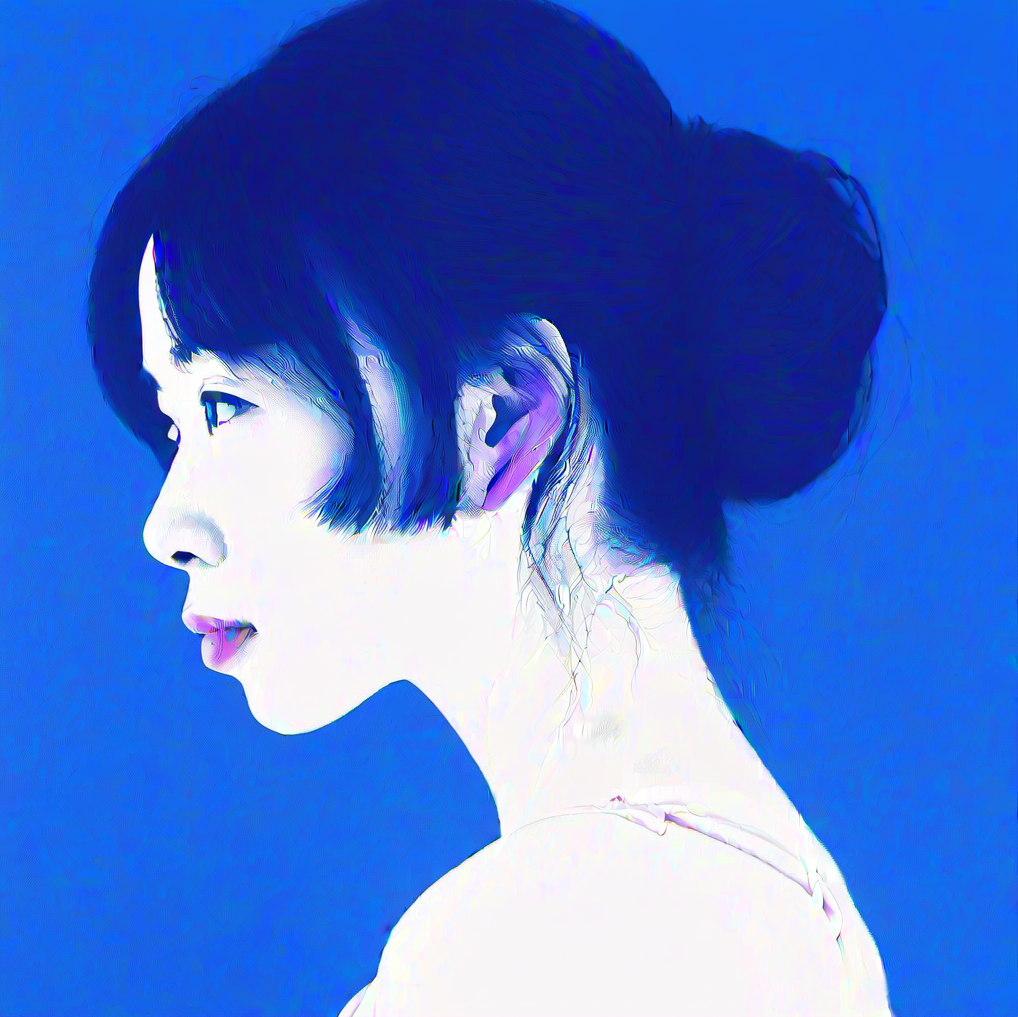
如果大家不知道输入什么 prompt,我给你一个,生成图片如下
A serene portrait of a young Asian woman is captured in this photograph, set against a soft, diffused background. The subject's face is delicately illuminated by a subtle, natural light source, which accentuates the gentle curves of her features and imbues her skin with a warm, luminous glow. The lighting is carefully calibrated to minimize harsh shadows, resulting in a softly nuanced and realistic representation of the subject's complexion.

The camera is positioned at a slight angle, providing a subtle, three-quarter view of the subject's face. This perspective allows the viewer to appreciate the intricate details of her facial structure, while also creating a sense of intimacy and closeness.

The subject's dark hair cascades down her back, framing her face and adding depth to the composition. A bouquet of delicate, pale purple flowers is positioned in the foreground, their slender stems and petals artfully arranged to create a sense of movement and dynamism.

Throughout the image, the photographer's attention to detail and mastery of lighting techniques are evident, resulting in a captivating and beautifully rendered portrait that invites the viewer to linger and explore the subject's serene, enigmatic expression.
换成 flux1-schnell 模型,生成如下
flux1-schnell 模型的 prompt 简化如下,效果好了很多。
prompt: photograph of victorian woman with wings, sky clouds, meadow grass
换成 sd_xl_base_1.0 模块,生成如下
四、黑图与调参
大家本地跑的时候,可能遇到最终生成的图片是纯黑色的情况。
这个一般是内存爆了的缘故,需要调小 KSampler 模块里的 cfg 为 6,之后还不行,就调小 steps,每次减1,不行就再减一。

如果你使用过文生图的工作流的话,可以发现,图生图与文生图的区别只有一个:原先的随机噪音图片改成了手动输入图片。
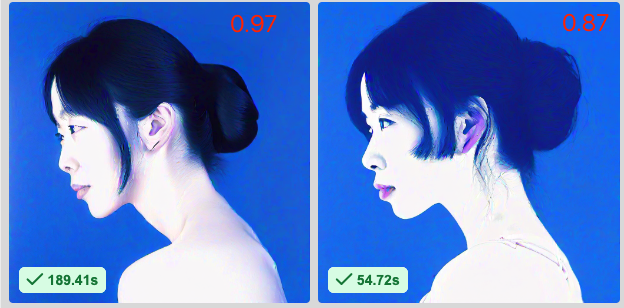
所以 KSampler 有一个参数 denoise 用于控制保留多少原图片的信息。
denoise 值越小,生成图像与参考图像的差异越小
denoise 值越大,生成的图像与参考图像的差异越大
我的工作流默认值是 0.87
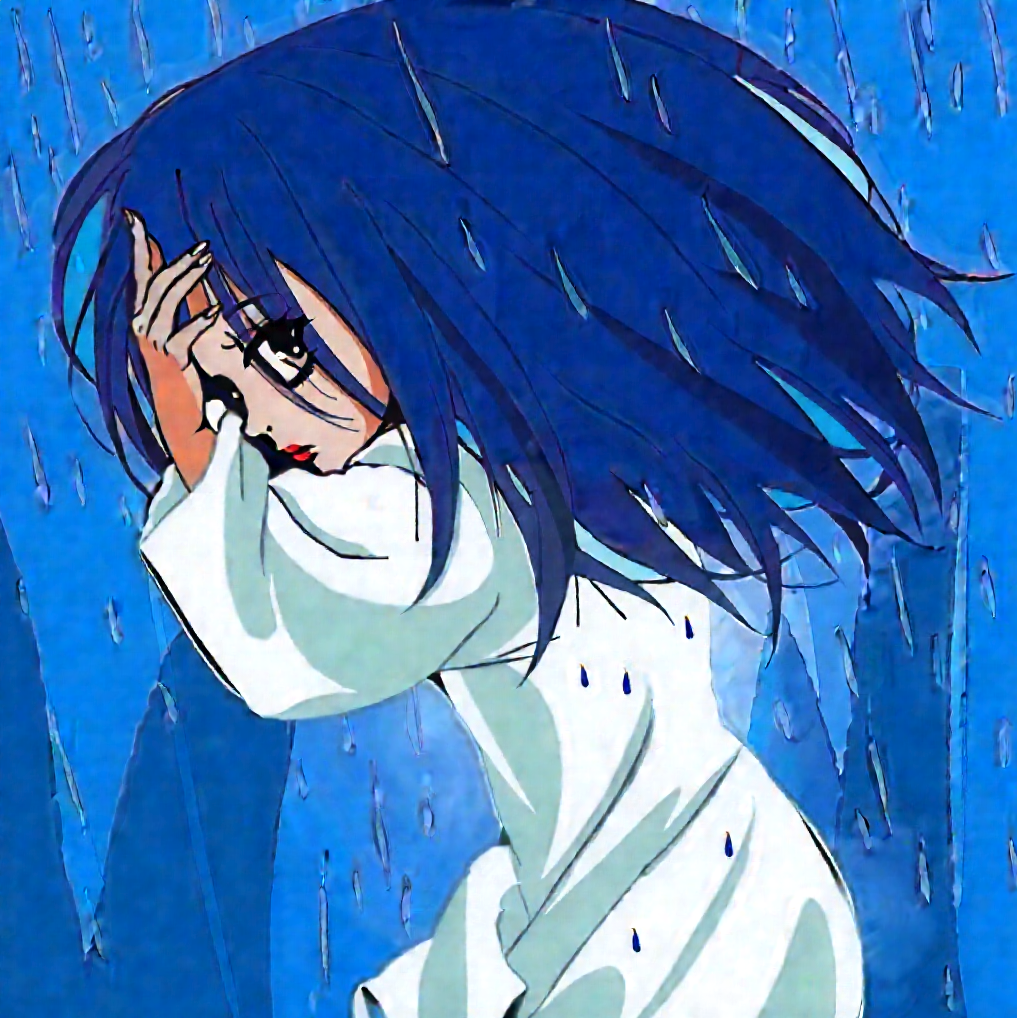
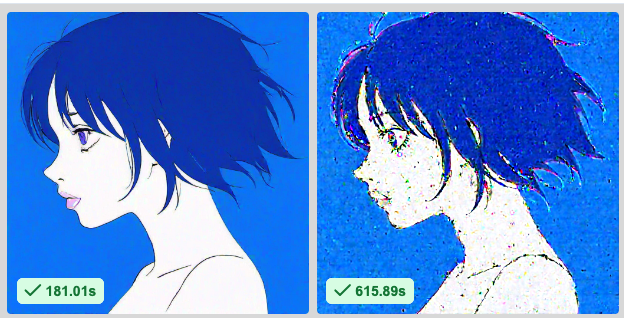
上面的几个图片,修改成 0.97,效果如下:
修改成 0.5,和原图的变化就不大了,效果如下:
这里大家可以多试试不同的值,看下区别。
五、最后
可以发现,我们上传一个图片,通过 prompt 和 denoise 来控制图片的生成,说实话,对图片的控制精细度其实很小。
比如上传一个头像,预期是只修改一个地方,结果给全部修改了。
上传一个素描,预期是按线条填充内容,结果也是全部给修改了。
这些需要用到图生图的其他技术,后面文章会继续介绍。
之后
《完》
-EOF-
本文公众号:天空的代码世界
个人微信号: tiankonguse
公众号ID: tiankonguse-code
本文首发于公众号:天空的代码世界,微信号:tiankonguse
如果你想留言,可以在微信里面关注公众号进行留言。